
Stations & Agents
Connect Checkup Agent to a station
Install the desktop Agent, sign in, and choose where this computer will process devices.
1. Download and open the Agent
From Checkup Home, click Download Agent. Install the version for your computer, then open the desktop Checkup Agent.
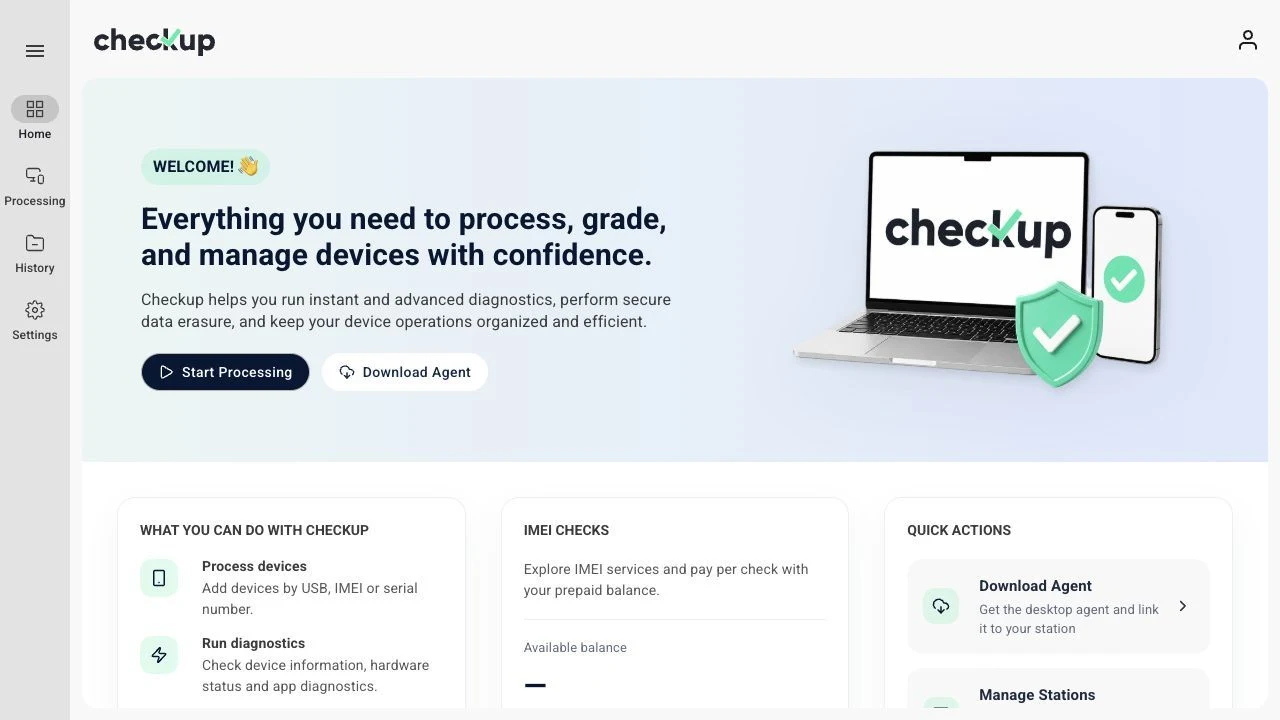
2. Start login from the Agent
Use the desktop Agent's login action. In the browser it opens, enter your email, click Continue, and finish signing in. Complete verification if requested.
Keep the Agent open. Use the browser window opened by the Agent so the login can return to that computer. Already signed in? You may go directly to workspace selection.
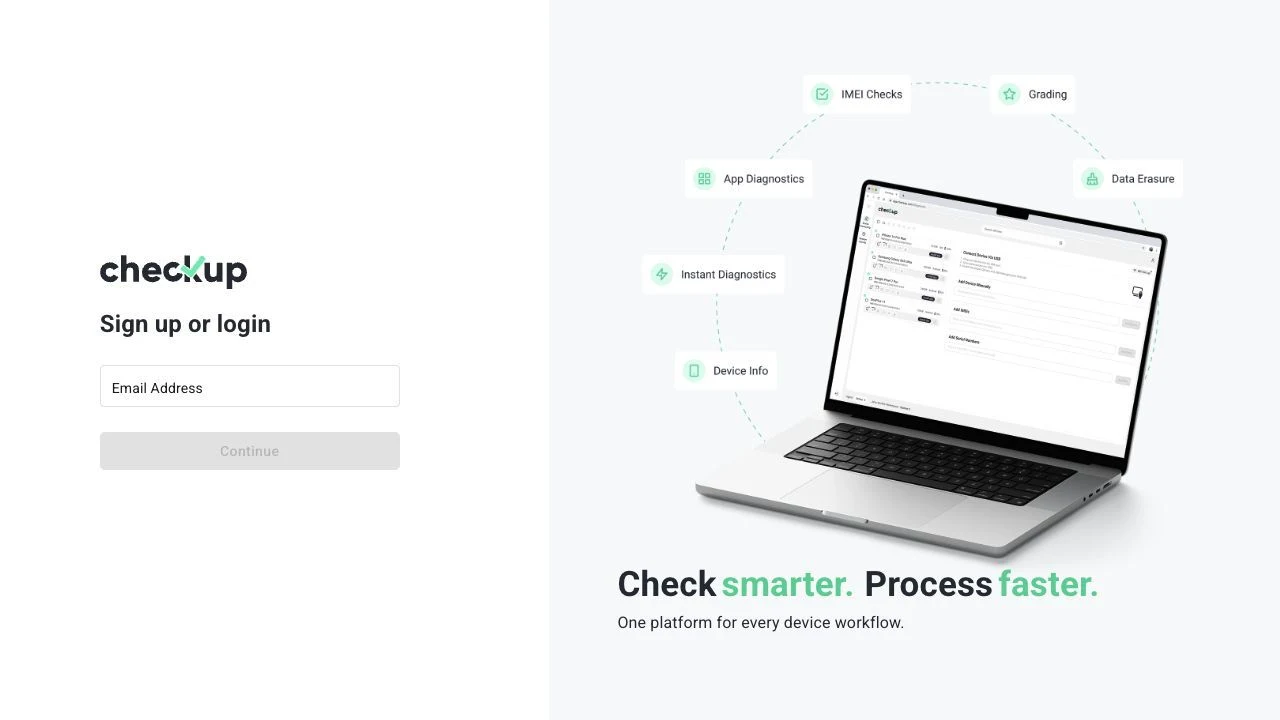
3. Check the account, then click Select
You need access to the workspace and an available Agent slot. On Choose a workspace to link your Agent, confirm the account shown at the top. Find the workspace you want and click Select.
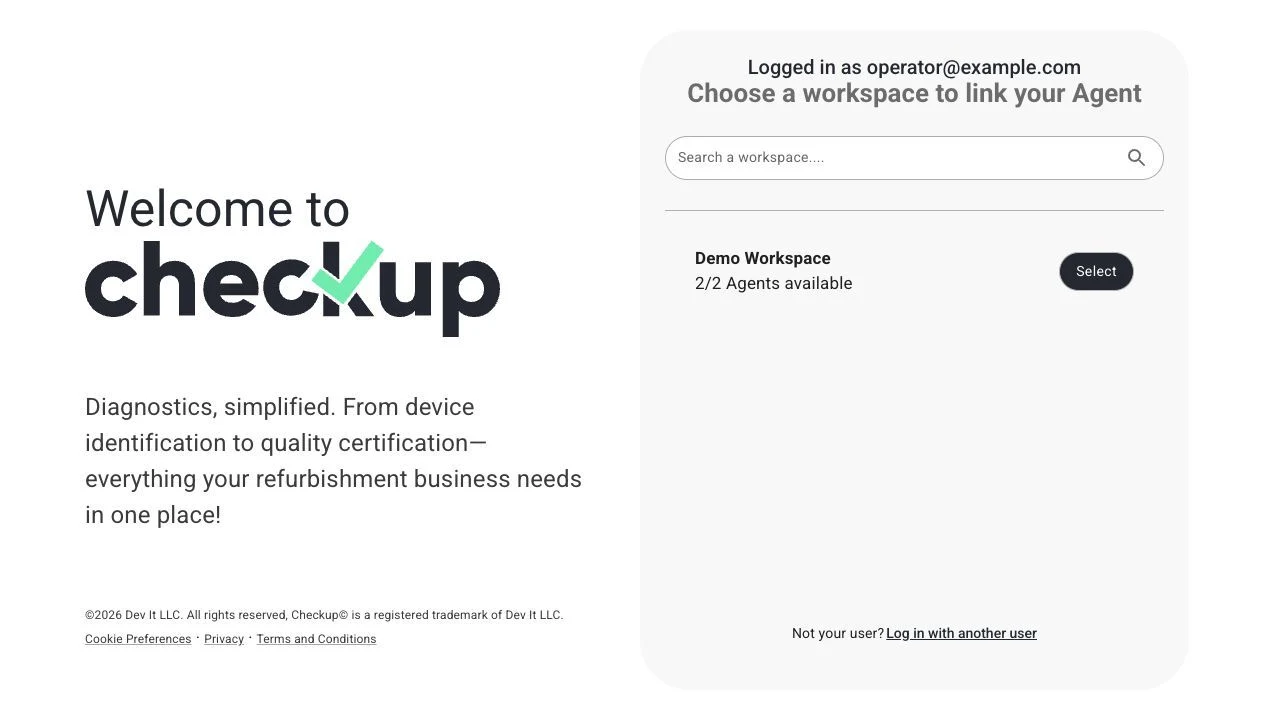
Read the available count. In this example, 2/2 Agents available means two remaining slots out of two total slots.
If the workspace is unavailable, check whether it is suspended or has no free Agent slots. If the account is wrong, use Log in with another user.
4. Select a station that is free
Check the workspace name above the list. Find your station, look for Free to assign an agent, then click its Select button. Wait for linking to finish.
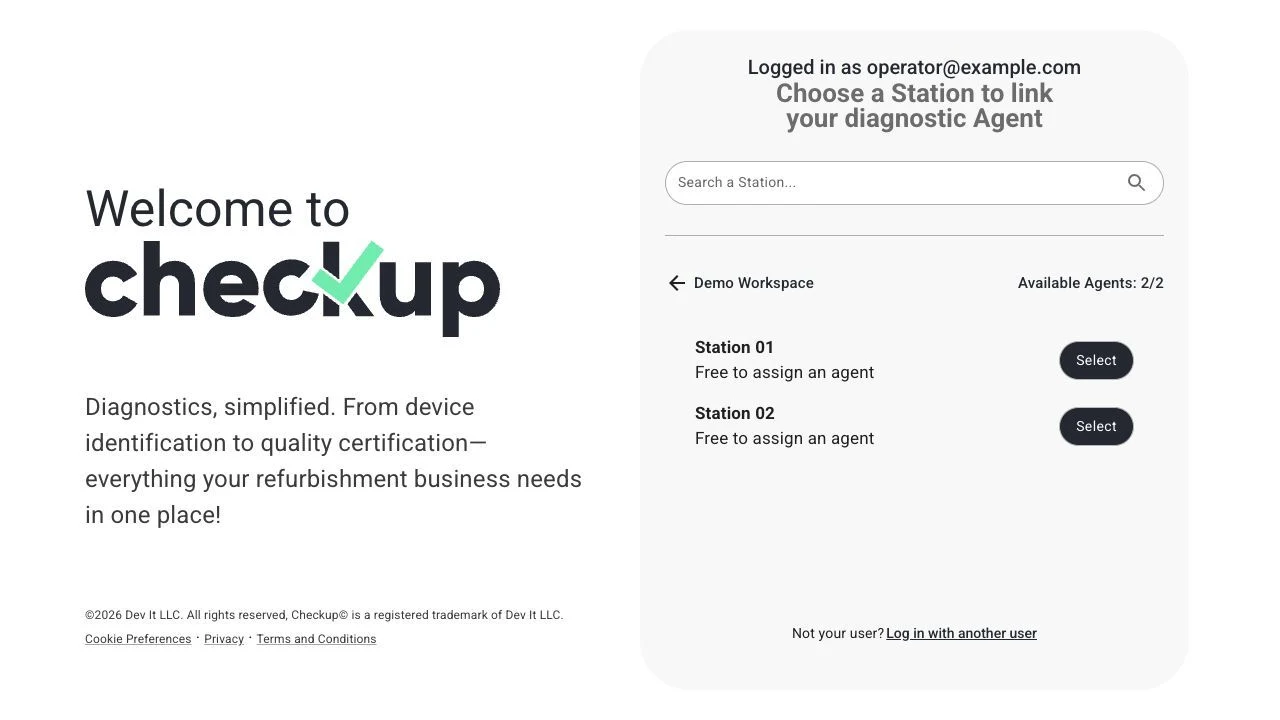
Station not selectable? It may be disabled, already linked to another Agent, or outside your access. Ask your workspace administrator to check it.
Confirm the result: the browser displays a success message naming the linked workspace and station. Make sure both names match your selection before continuing.
5. Check Yes and Online, then Initialize
Return to the same workspace in Checkup and open Processing > Stations. Your station should show Agent linked: Yes and Agent status: Online. Click Initialize when you are ready to start processing.
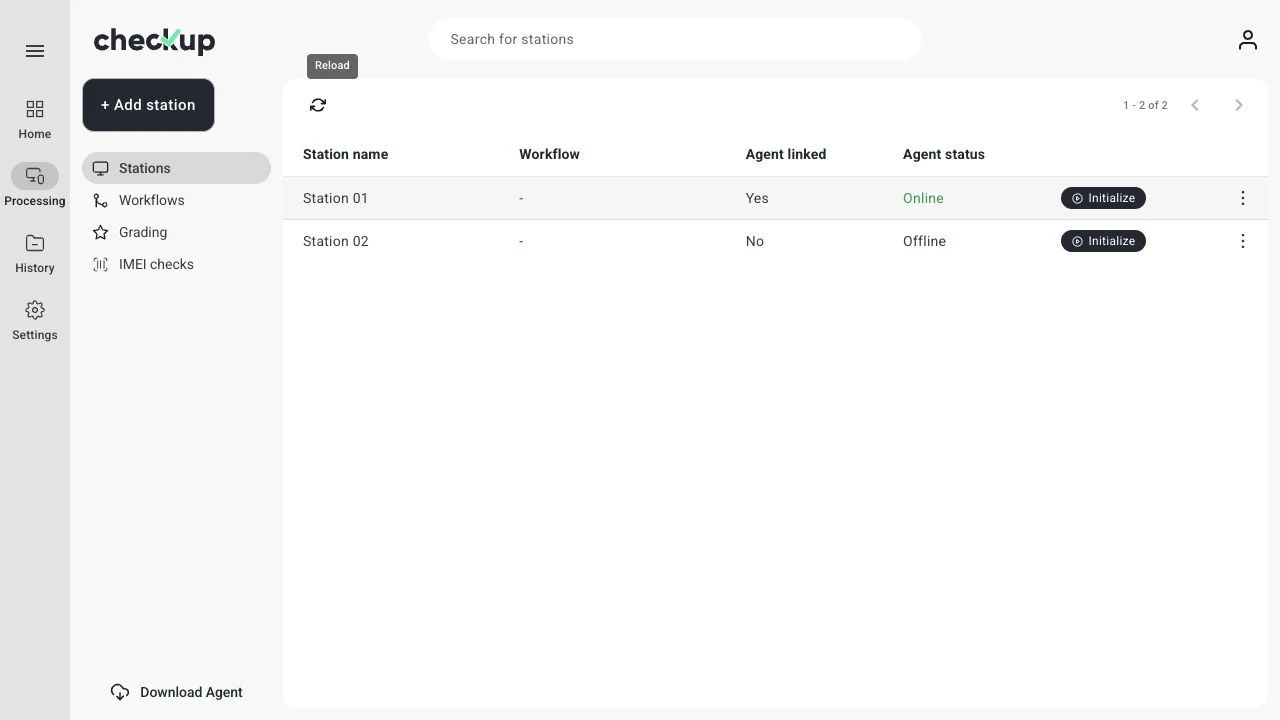
Keep Checkup Agent running on the linked computer, with an active internet connection, while you process devices.
If something is not ready
- Agent is Offline. Open the desktop Agent, check the internet connection, and confirm it is linked to this station. Refresh the Stations list.
- No station or no free Agent slot. Ask the workspace administrator to check station access, station status, and available Agent capacity.
- Station is linked to another Agent. Coordinate with the administrator before replacing it. Settings > Plan & Agents > Linked Agents contains Unlink. Unlinking can stop ongoing processing.
- View Mode appears. Another operator is using the station. View Mode is read-only; coordinate with that operator before starting a processing session.
Screenshots were captured from the actual local Checkup UI. Account names, capacity and connection status use sample data; no live Agent was linked for this guide.