
Checkup 1.0.7 · User guide
Configure your first station
Reviewed
Name your station, assign a workflow, and prepare it for device processing.
Before you begin
A station is the processing location linked to Checkup Agent on a computer. Choose a name that tells your team where or how it is used. Have a workflow ready if you want the station to follow a standard process.
1. Open Stations
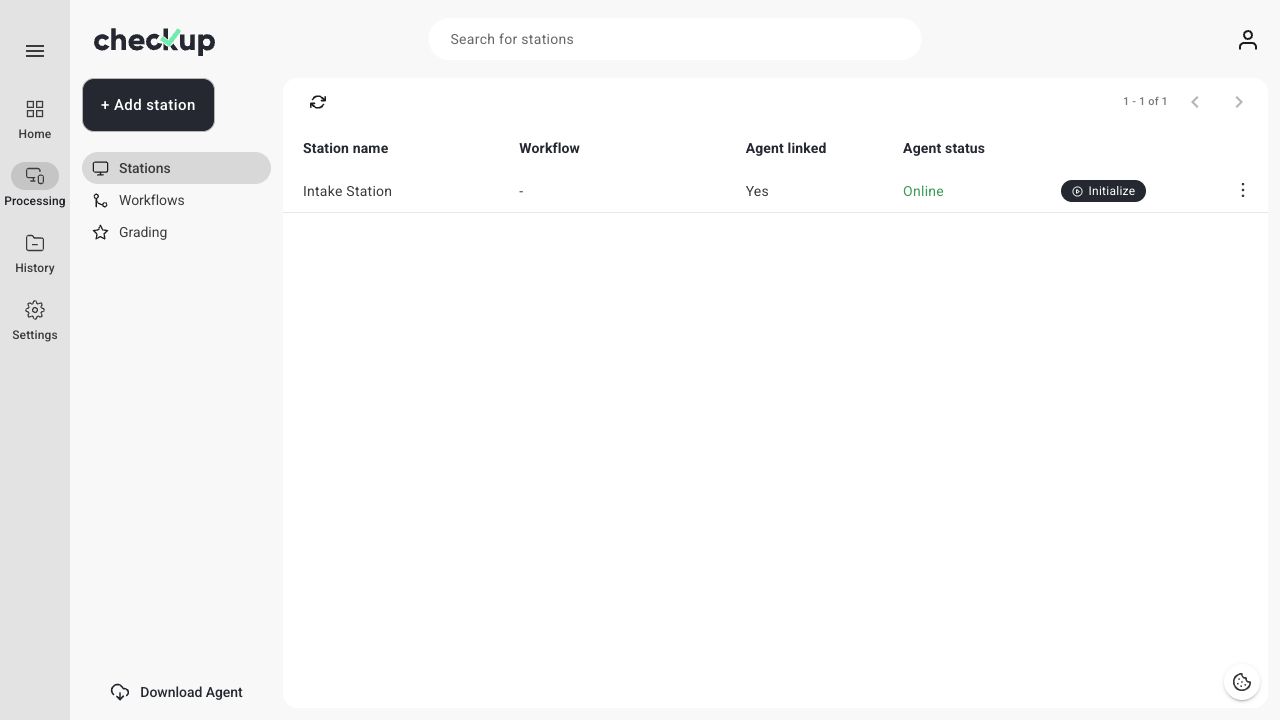
Choose Processing → Stations. The list shows each station’s assigned workflow, Agent link, and Agent status.
2. Edit the station
- Open the station’s three-dot menu.
- Choose Edit.
- Enter the Station name.
- Open the workflow selector.
- Choose an existing workflow, or leave No workflow assigned.
- Choose Save.
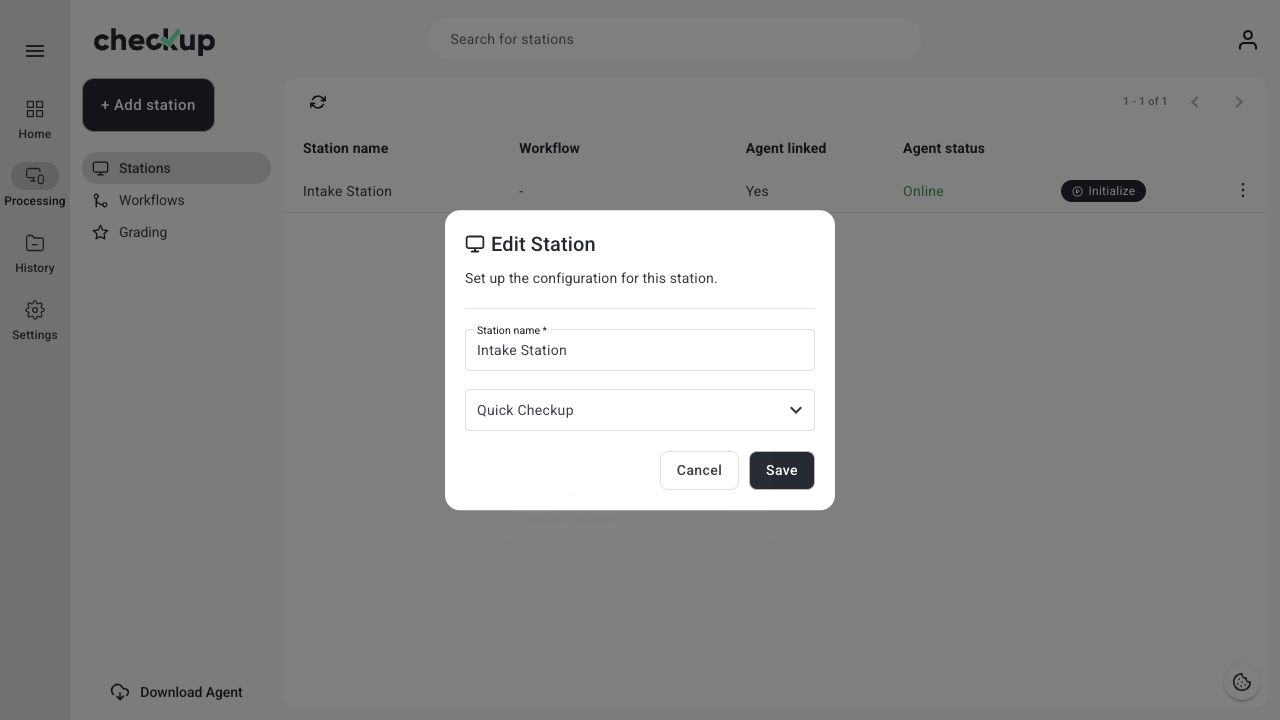
If you need another station and your workspace allows it, use + Add station and complete the same fields.
3. Configure processing options in Workflows
In 1.0.7, select grading, app checks, device pictures, erasure, and automatic actions in Processing → Workflows. The station editor assigns the workflow; it does not contain the old separate automatic-action switches.
See Create and manage workflows. A station with No workflow assigned remains available for manual operation.
4. Link Agent and confirm readiness
Follow Connect Checkup Agent to a station. Return to Stations and check Agent linked: Yes and Agent status: Online.
Linked means an Agent is associated with the station. Online means Checkup can currently detect it. A linked Agent can still be offline if the application or computer is closed.
5. Initialize the station
Choose Initialize. Confirm that the station name shown at the bottom of the processing screen is correct before connecting devices.
If the station is in use, View mode lets you review its activity without becoming the processing operator. Coordinate with the current operator before ending that session.
When configuration changes take effect
A processing session keeps the workflow configuration it started with. After changing an assignment or workflow, finish the current work, exit the station, and initialize a new session to use the updated configuration. Historical tests retain the configuration used when they were processed.
If the station will not initialize
Check Agent not detected. For a station stuck in another active session, follow Finalize a station.
Screens show the Checkup interface with sample data. Names and results in your workspace will differ.