
Checkup 1.0.7 · User guide
Set up your workspace
Reviewed
Update the workspace name, logo, and company details shown in Checkup.
Open workspace settings
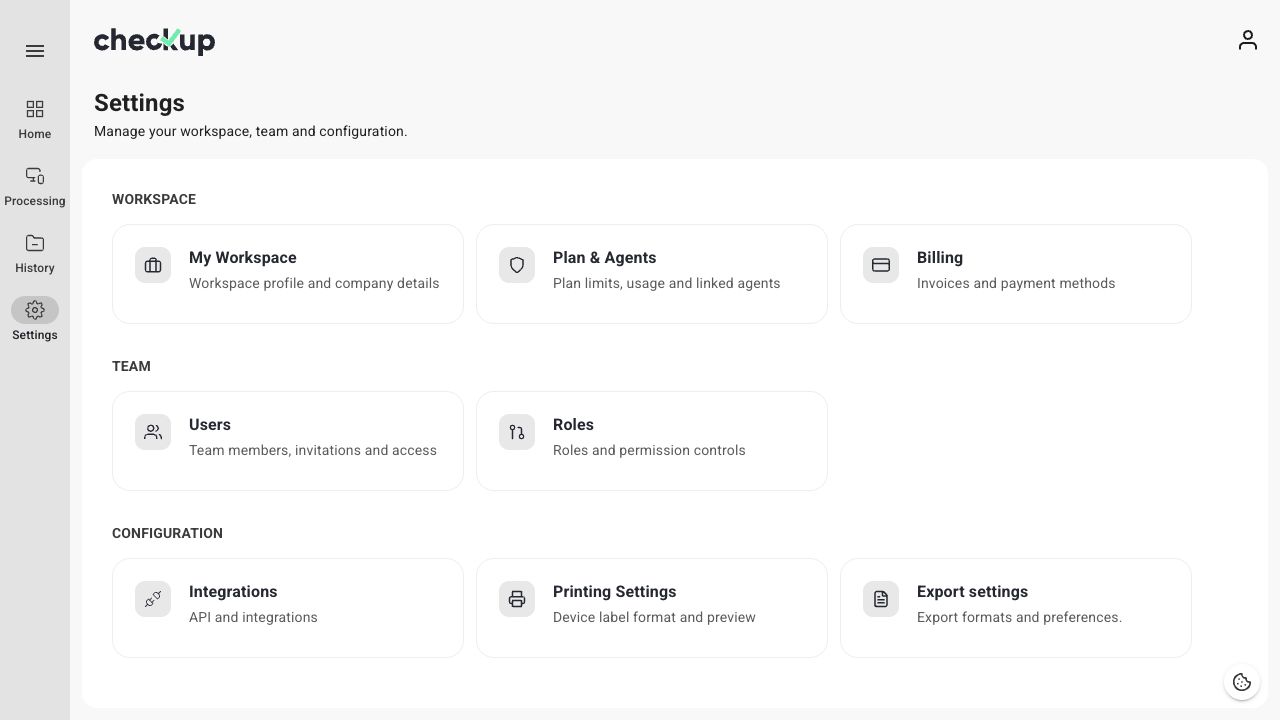
Open Settings, then choose My Workspace in the Workspace section. Make sure you have selected the correct workspace before editing it.
If you can view the page but cannot edit it, ask the person managing your workspace to make the change or check your access.
Rename the workspace
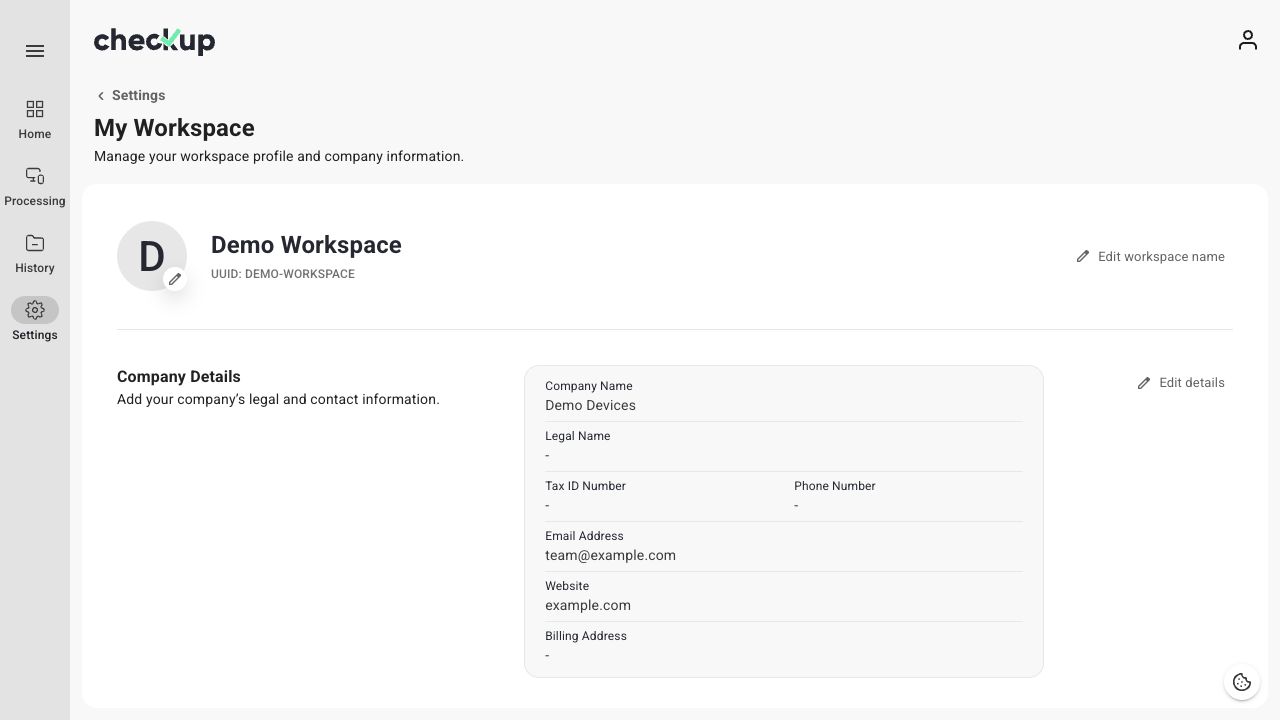
- Choose Edit workspace name.
- Enter a name your team will recognize, such as the site or business unit.
- Choose Save.
- Check that the new name appears at the top of My Workspace.
The workspace name identifies the workspace in Checkup. Company Name is a separate field in Company Details.
Update company details
- Find Company Details and choose Edit details.
- Review the company name, legal name, tax ID number, phone number, email address, website, and billing address.
- Update the relevant fields.
- Choose Save and wait for confirmation.
Use information that your team can recognize and maintain. You do not need to rename the workspace when updating company contact details.
Change the workspace logo
Select the edit control beside the workspace image, choose or drag in a photo, adjust the preview, and confirm. Wait for the upload to finish before leaving the page.
Changing the workspace logo does not add custom branding to Device Test PDF reports in version 1.0.7; those reports use Checkup branding.
Next steps
Configure a station, create a workflow, or return to Get started.
Screens show the Checkup interface with sample data. Names and results in your workspace will differ.