
Checkup 1.0.7 · User guide
Get started with Checkup
Reviewed
Set up your workspace, connect Checkup Agent, and process your first device.
Before you begin
Have your Checkup account, a supported Mac or Windows computer, and a USB cable ready. Install Checkup Agent on the computer that will connect to your devices. The web dashboard is where you manage stations, review tests, and download reports.
1. Sign in and open your workspace
Sign in to Checkup and select the workspace you want to use. A workspace groups your stations, settings, and device history. Check that you are working in the correct workspace before changing its configuration.
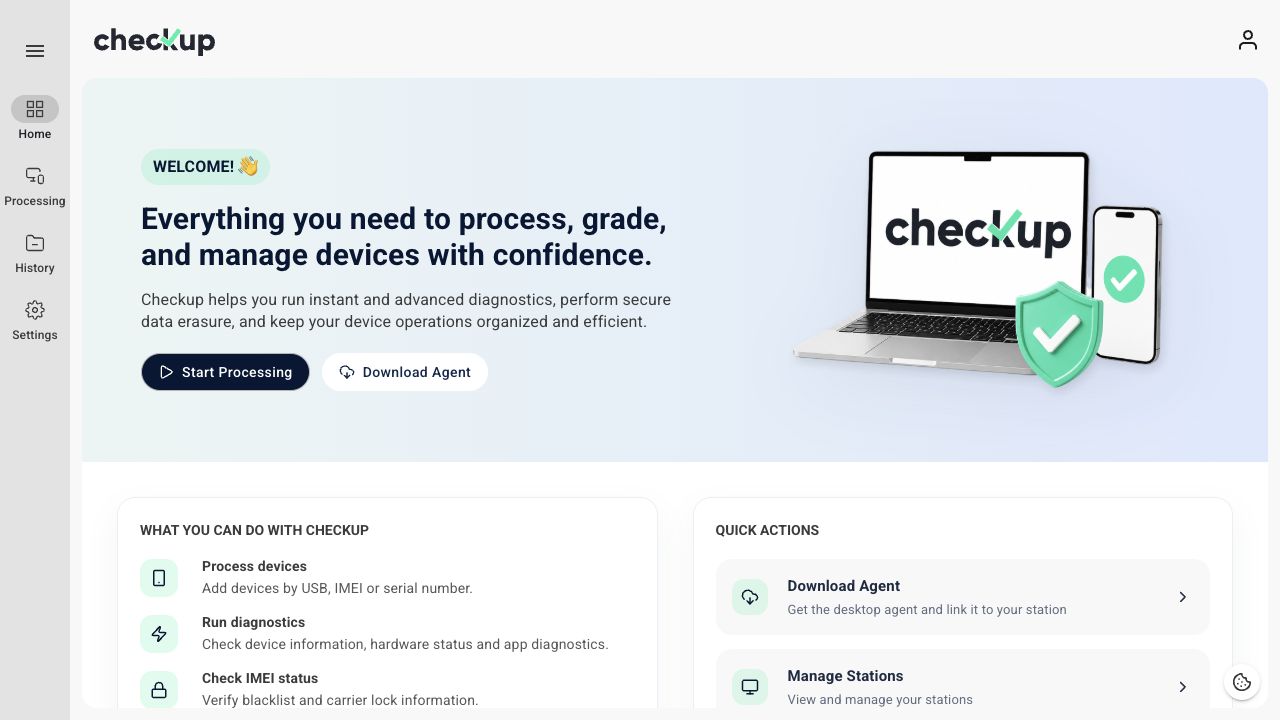
Home provides shortcuts to processing, Agent downloads, stations, and History.
2. Set your personal preferences
Open the account menu in the top-right corner and choose Manage your profile. Set your name, language, and timezone. Your timezone determines how dates and times appear in the app.
Follow Set up your profile for the full steps.
3. Check your workspace details
Open Settings → My Workspace. Give the workspace a recognizable name and review its company details. See Set up your workspace.
4. Configure your station and workflow
Open Processing → Stations, open the station’s three-dot menu, and select Edit. Name the station for its purpose or location.
A workflow defines the information, diagnostics, pictures, grading, and automatic actions used at a station. Create a workflow first if you want a repeatable process, then assign it to the station. You can also leave No workflow assigned for manual operation.
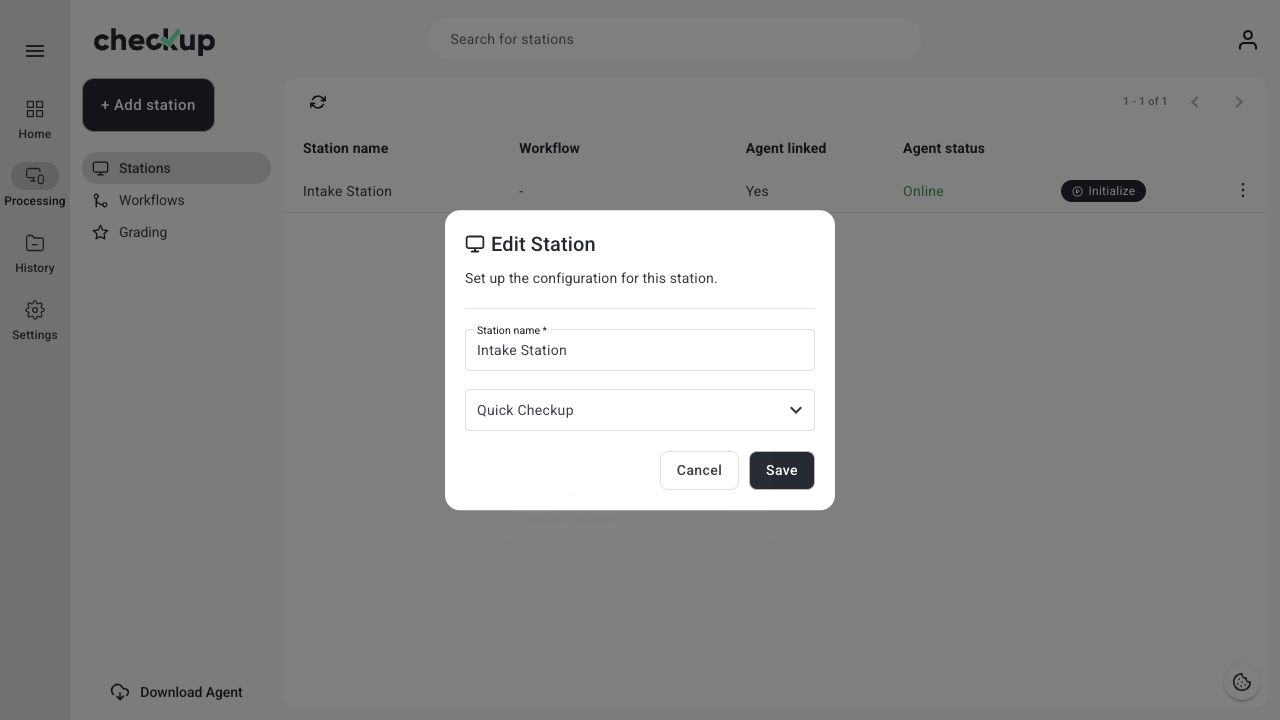
See Configure your first station and Create and manage workflows.
5. Connect the desktop Agent
Choose Download Agent from Home, install the matching version, and open it. Complete the browser sign-in opened by Agent, select your workspace, and link an available station.
In Processing → Stations, look for Agent linked: Yes and Agent status: Online. Follow Connect Checkup Agent to a station if either status is missing.
6. Process your first device
Choose Initialize beside the station. Connect the device by USB and follow the on-screen device preparation instructions. Select its card to review information and complete the checks you need.
You can also add a device manually by model name, IMEI, or serial number. See Process devices and enter information manually.
7. Review and share the result
Use Session Activity to review the current session, or History for the workspace’s test records. Open the Test ID to inspect the result. Use the row menu to download a PDF report or label.
Set your preferred report language, paper size, and filename in Export settings.
Screens show the Checkup interface with sample data. Names and results in your workspace will differ.